Fatal error: Allowed memory size of bytes exhausted. Increase the Maximum File Upload Size in WordPress
|

Fatal error: Allowed memory size of bytes exhausted. Increase the Maximum File Upload Size in WordPress

Does your WordPress site show an error message similar to this? 1. Increase PHP Memory Limit in WordPress, wp-config.php file you need to paste this code in wp-config.php file just before the line that says ‘That’s all, stop editing! Happy blogging.’ This code tells WordPress to increase the PHP memory limit to 128MB. 2: Theme Functions…

Changing the font size, line height and code box padding of Syntaxhighlighter Evolved plugin
| |

Changing the font size, line height and code box padding of Syntaxhighlighter Evolved plugin

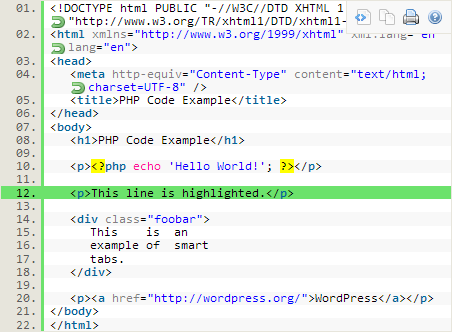
By Default Syntaxhighlighter Evolved plugin came with no top and bottom padding and very tight line height. If you are someone like me who love some breathing space in between every section in a WordPress post then you can try the below CSS code snippet. Screenshots are attached before and after applying the CSS code….

Avada – Change fusion tabs heading position in mobile layout
| |

Avada – Change fusion tabs heading position in mobile layout

Avada fusion tabs, the horizontal tabs work well on a desktop when viewed on mobile the tabs become vertical (which is good) but the content appears under the specific tabs pushing the rest above and/or below the open contents (which is bad). Many mobile users may not even realize that there are more tabs if they…

How to quickly increase the All-in-One WP Migration plugin upload limit
|

How to quickly increase the All-in-One WP Migration plugin upload limit

Update 11/09/2018 For the instructions outlined in this tutorial to work, you must use version 6.77 or earlier of the All-in-one WP Migration Plugin. You can download version 6.77 here, all-in-one-wp-migration.6.77 In the constants file… /wp-content/plugins/all-in-one-wp-migration/constants.php Find this… // ================= // = Max File Size = // ================= define( ‘AI1WM_MAX_FILE_SIZE’, 2 << 28 ); and replace…

Paid Membership Pro – Styling the Checkout Page
| |

Paid Membership Pro – Styling the Checkout Page

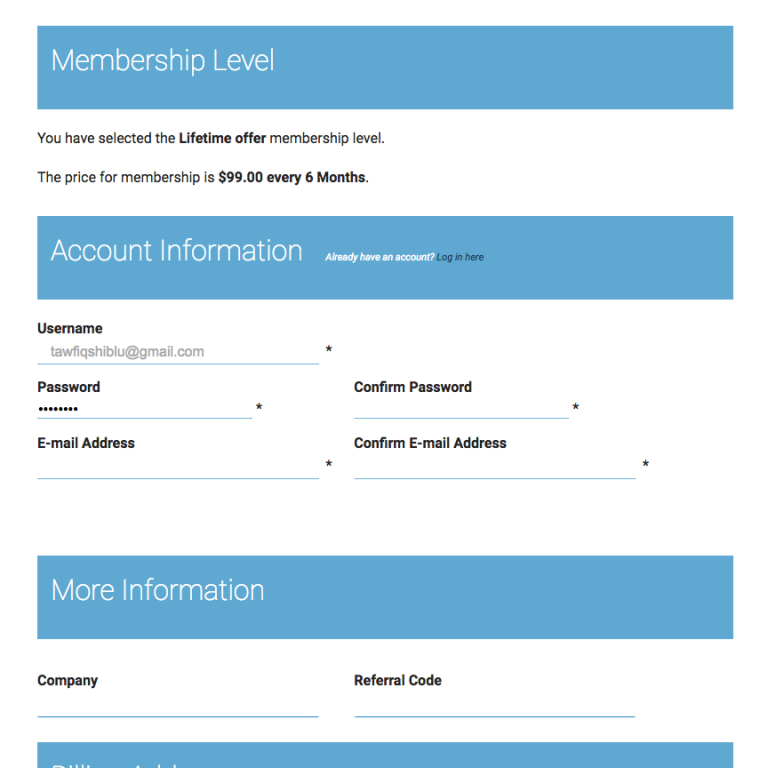
I use Avada Theme to design my website and Fusion Builder for page design. I place all my custom CSS for the style Paid Membership Pro Member Checkout form in the Fusion Builder custom CSS section (see the image below). form.pmpro_form > div{ margin: 30px 0; } #pmpro_form .pmpro_checkout h3{ display: block; font-size: 32px; color:…

How to change revolution slider background color opacity
| |

How to change revolution slider background color opacity

.rev_slider .slotholder:after { width: 100%; height: 100%; content: “”; position: absolute; left: 0; top: 0; pointer-events: none; background: rgba(255, 255, 255, 0.5); } Can do the same for section background image, just need to add a class to the container and put the .classname in place of .rev_slider .slotholder

Divi – Remove the divider line between content and sidebar
| |

Divi – Remove the divider line between content and sidebar

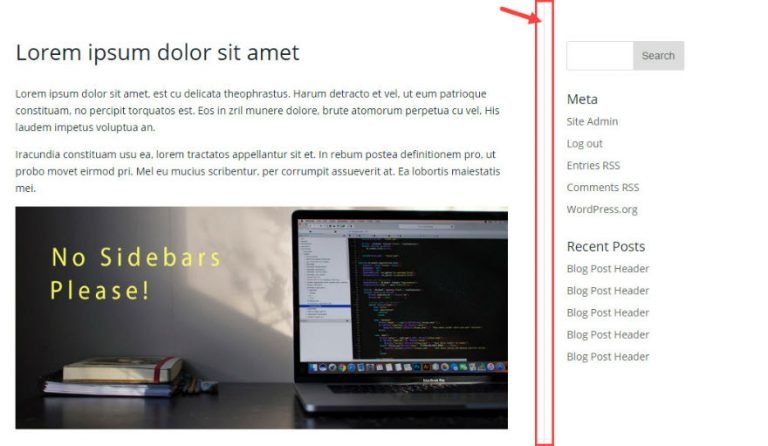
By default the Divi Theme displays a dividing line between the main content and the sidebar. It’s possible to remove this dividing line using CSS.Note that there are two cases in which a dividing line may occur (either on a standard sidebar, or on a sidebar module). Remove divider line between content and sidebar from…

How to Style Your Divi Blog Page into Two-Column Grid Layout
|

How to Style Your Divi Blog Page into Two-Column Grid Layout

Add a Standard Section and insert a fullwidth column. Click to edit the Section Settings and, under General Settings, change the following: Under Custom CSS add the following: CSS Class: tr_two_col Save & Exit Implementing the Two-Column Grid Layout By default, the blog grid has a three-columnn grid layout. To change this to a two-column…