
Elementor – How to Create a Transparent Header using Template
If you want to create a transparent header template in Elementor then follow the below steps
Step 1:
Go to the dashboard of your website. Proceed to “Elementor” and click “My Templates”.
Step 2:
Click ‘Add New’. Select the template type you want to create. In this case, choose ‘Header’ in the dropdown and name it ‘Custom Header’ (you can give any name to your header template).
Step 3:
Similar to creating pages with Elementor, we will build the header using Elementor Builder.
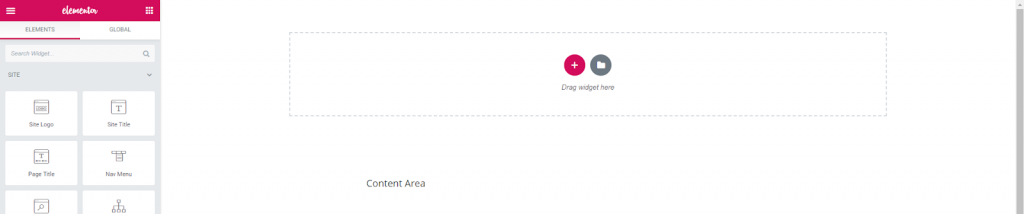
Step 4:
Assuming you already made the header, the next step is to set the background of the section to transparent.
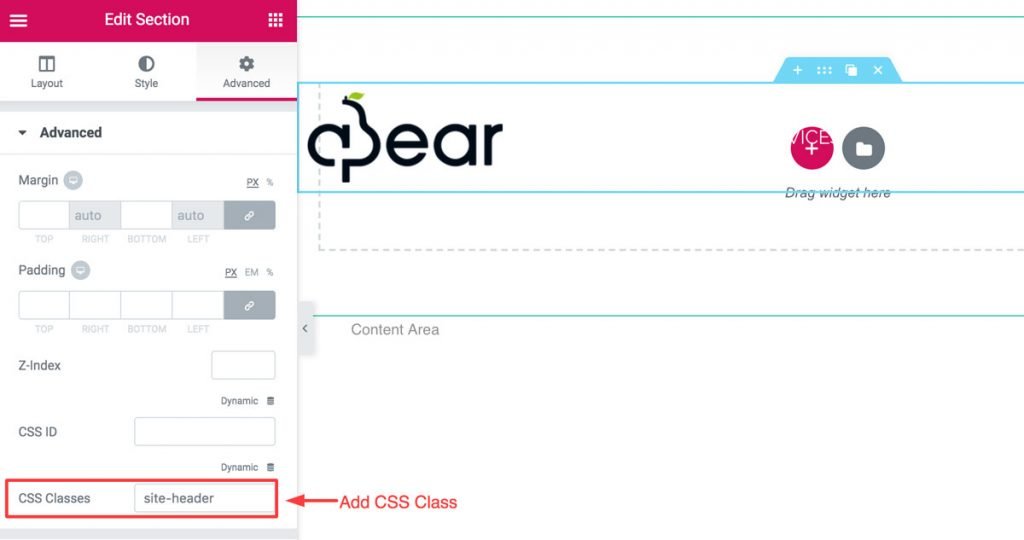
Step 5:
Add a class to the header
Add the following CSS in the Custom CSS section. This is so that the header would overlap with your page content and not leave a space behind it.
.site-header{
    position: absolute !important;
    width: 100%;
    left: 0;
    z-index: 10;
}
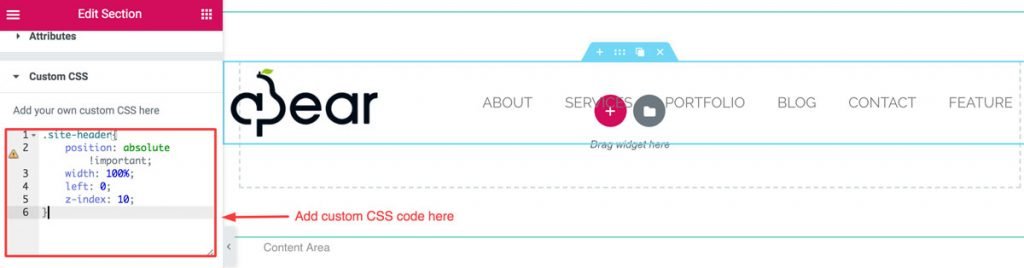
The header will now be positioned at the top of the page and is transparent! Add a padding-top to your first section to adjust the gap between the header and first section content.

That’s it, hope it works for you. If not please let me know in the comment section.

