How to float/align content left and right in a Divi Text Module
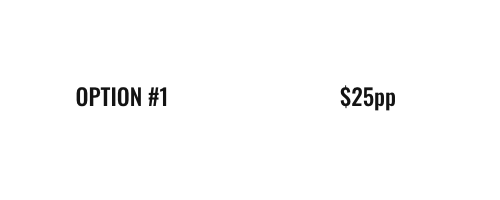
<p><span style="display: inline-block; float: left;">OPTION #1 </span><span style="display: inline-block; float: right;">$25pp</span></p>
<p><span style="display: inline-block; float: left;">OPTION #1 </span><span style="display: inline-block; float: right;">$25pp</span></p>
I'm a freelance WordPress Developer and Project Manager. Specialize in WordPress, Woocommerce, Custom WordPress Theme and Plugin Development, and Shopify. Highly skilled in HTML5, CSS3, SCSS, JavaScript, jQuery, Ajax, ES6, Bootstrap, PHP and MySQL.
If you want to align brand to your left and all the navbar-items to right, change the default mr-auto to ml-auto <ul class=”navbar-nav ml-auto”>

You can take a full page screen shot of any live website using Firefox build-in Web Development Tool. No need to install add-on or third party apps. If past and works well. Go to Tools > Web Developer > Developer Toolbar, then type screenshot –fullpage That’s it.

Simple CSS solution: You can wrap pagination buttons with a div and do the styling. Better to use a Child theme to edit pagination.php file. File Structure: Child theme => style.css
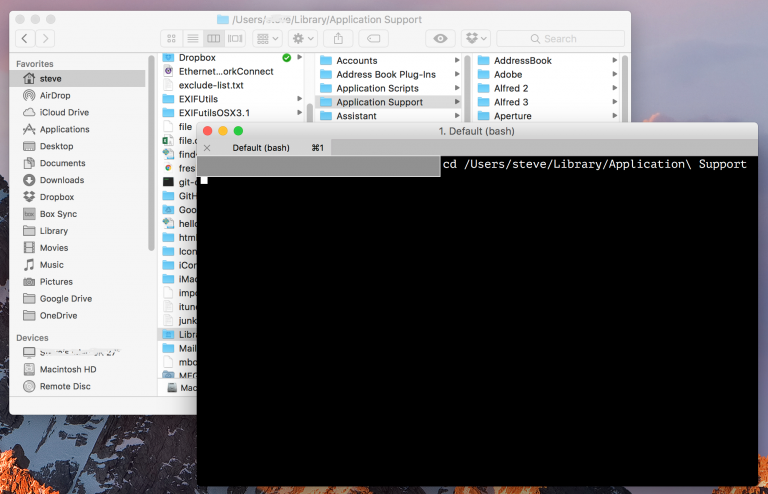
First, ensure that you have both the source files and your copy destination mounted and available on your system so you can see them in the Finder. Then open the OS X Terminal and perform the following steps: This command now tells the computer to run the “rsync” command (or another copy command you’ve chosen),…
Problem: Parent menu item not clickable when submenu enabled Some WordPress theme by default disables parent menu links when they have dropdown menu items. If you have a submenu enabled the parent menu item is no longer clickable to link through to the page, it just opens the submenu. We’ll make the parent menu items…

Divi does use the flex property for contact module Submit button (as you can see in the image below) you can center align the button very easily. We need to remove the float and horizontally center the button. Flex uses the justify-content property to align the flex items at the center of the container. or…
Can We Add More Under This but these must be alliged. in your code Text In New Line will Distorted