How to change your active WordPress theme from the database
WordPress makes it super easy for users to change and manage themes on their site from the WordPress Dashboard.
Sometimes new changes such as plugins or updates are simply not compatible with your current theme. In those cases, you might need to change your active theme, but it could be difficult when you get a white screen due to an error and are unable to login. This can leave you in a circular problem as you need to change the theme in order to get into the admin area.

You can solve this by changing the active theme to a default theme* from the database. After this, you can login again to wp-admin and manage your site from there.
*(A default theme is a theme that was active when you first installed WordPress, for example, twentytwenty)
This article will guide you on how to do that within your WordPress site.
Step 1: Log into your cPanel interface.
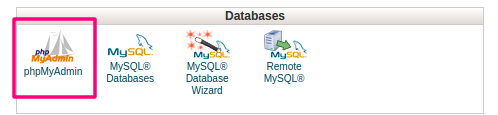
Step 2: Look for the Databases category and click on the phpMyadmin icon.
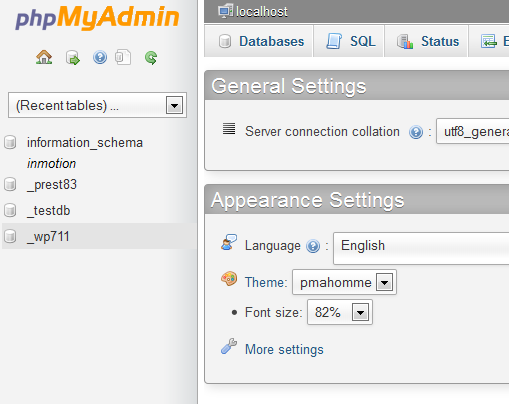
Step 3: Once inside the phpMyadmin look to the left-hand sidebar and click on your specific WordPress database.
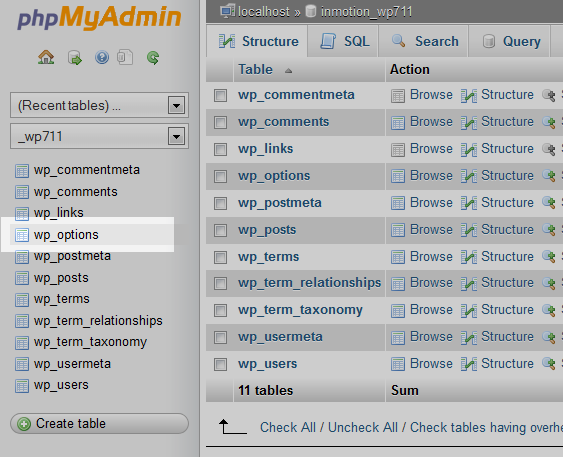
Step 4: In the menu to your left, click wp_options to open the options table.
Step 5: Under the option_name column, locate the template entry. You may need to navigate beyond the first page of the entries.
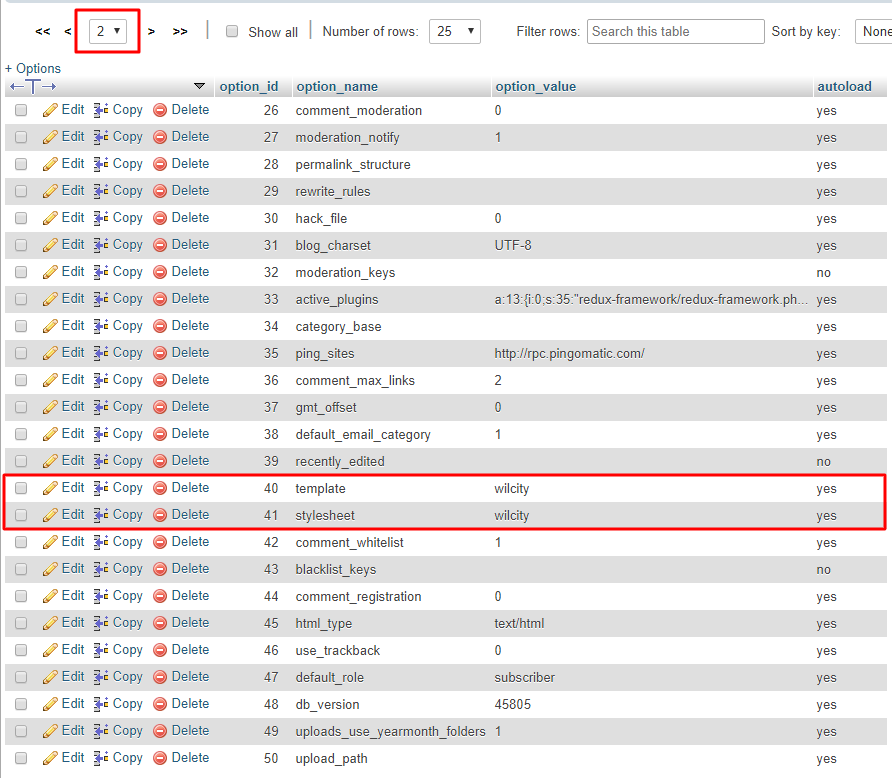
Step 6: Click Edit next to the template entry.
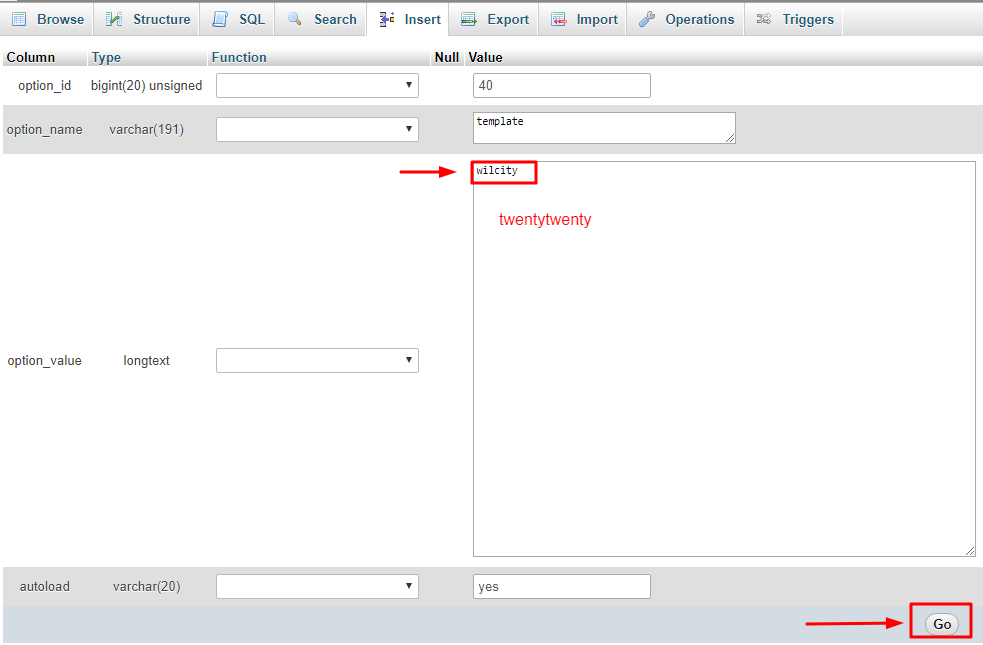
Step 7: In the option_value column, change the value to the name of your theme (or child theme, if you’ve previously created one). The new value must be the same as your theme’s folder name. (I’m using twentytwenty)
Step 8: To save, click Go.
Step 9: Click Edit next to the stylesheet entry.

Step 10: In the option_value column, change the value to the name of your theme like before. (ex. twentytwenty).
Step 11: To save, click Go.
Step 12: Reload your website and you should see a screen like this,

Welcome back 🙂