Running Multiple WordPress Sites On Ubuntu 18.04 Server With Nginx, MySQL And PHP 7.2 Support
When deciding to run multiple WordPress websites on Ubuntu 16.04 LTS server, the steps below can get you started… With Nginx HTTP server, you can run as many WordPress websites as possible as long as the host system has enough resources with a feature called Server Block…
Nginx server block is a feature similar to Apache2 virtualhost. These features allow users and webmasters to host multiple independent websites or blogs on a single host computer with a single IP address and separate domain names.
When you’re ready, follow the steps below to get this working.
Step 1: Prepare Ubuntu 18.04 Server
Prepare Ubuntu server and run the commands below to update it.
sudo apt update
sudo apt upgrade
sudo apt autoremove
Step 2: Install Nginx HTTP Web Server
Next, run the commands below to install Nginx HTTP server…
sudo apt install nginx
Popular Nginx Commands
// Use any one command service or systemctl. both work same
// Start Nginx
service nginx start
systemctl start nginx
// Stop Nginx
service nginx stop
systemctl stop nginx
// Quit Nginx
service nginx quit
systemctl quit nginx
// Restart Nginx
service nginx restart
systemctl restart nginx
// Reload Nginx
service nginx reload
systemctl reload nginx
// View Server Status
service nginx status
systemctl status nginx
// Test Nginx Configuration
nginx -t
// Check Nginx Version
service nginx -v
systemctl -v nginx
Step 3: Install MySQL Database Server
You’ll need a database server for WordPress. To install MySQL database server run the commands below.
sudo apt install mysql-server
mysql_secure_installation — Improve MySQL Installation Security
By default MySQL database root user didn’t have any password. So it’ll be very easy to enter your database server.
This program enables you to improve the security of your MySQL installation in the following ways:
- You can set a password for
rootaccounts. - You can remove
rootaccounts that are accessible from outside the local host. - You can remove anonymous-user accounts.
- You can remove the
testdatabase (which by default can be accessed by all users, even anonymous users), and privileges that permit anyone to access databases with names that start withtest_.
When executed, mysql_secure_installation prompts you to determine which actions to perform.
When prompted, answer the questions below by following the guide.
- Enter current password for root (enter for none): Just press the Enter
- Set root password? [Y/n]: Y
- New password: Enter password
- Re-enter new password: Repeat password
- Remove anonymous users? [Y/n]: Y
- Disallow root login remotely? [Y/n]: Y
- Remove test database and access to it? [Y/n]: Y
- Reload privilege tables now? [Y/n]: Y
Restart MySQL server
sudo systemctl restart mysql.service
Step 4: Install PHP 7.2-FPM and other PHP modules
Run the commands below to install PHP 7.2 and related modules.
sudo apt install php7.2-fpm php7.2-xml php7.2-intl php7.2-mysql php7.2-opcache php7.2-json php7.2-gd
After install PHP, run the commands below to open default PHP ini file.
sudo nano /etc/php/7.2/fpm/php.ini
Step 5: Create Databases and Database Users for Multiple WordPress websites
We’re going add two WordPress websites. Suppose they are:
http://example1.com
http://example2.com
We’re going to create two databases for these two websites.
example1db
example2db
To create the databases, run the commands below to logon to the server.
sudo mysql -u root -p
Then run the commands below to create databases. one line at a time.
CREATE DATABASE example1db;
CREATE DATABASE example2db;
Our next task we’ll create two database users, one for each site.. they will be called:
example1user
example2user
Run the commands below to create two users and set their passwords
CREATE USER "example1user"@"localhost" IDENTIFIED BY "type_user_password_here";
CREATE USER "example2user"@"localhost" IDENTIFIED BY "type_user_password_here";
Grant the database user to all access to specific database
GRANT ALL ON example1db.* TO "example1user"@"localhost";
GRANT ALL ON example2db.* TO "example2user"@"localhost";
When you’re done, run the commands below to save your changes and exit.
FLUSH PRIVILEGES;
exit;
Step 6: Create Nginx Server Blocks
Now we’re going to create two server blocks for our two websites. run the commands below to first one.
sudo nano /etc/nginx/sites-available/example1.com
For each file, copy and paste the code below… replacing the domain name reference and root folder highlighted.
example1.com server block looks like this:
server {
    listen 80;
    listen [::]:80;
    root /var/www/html/example1.com;
    index  index.php index.html index.htm;
    server_name  example1.com www.example1.com;
    location / {
        try_files $uri $uri/ /index.php?$args;
    }
    location ~ \.php$ {
    include snippets/fastcgi-php.conf;
    fastcgi_pass             unix:/var/run/php/php7.2-fpm.sock;
    fastcgi_param   SCRIPT_FILENAME $document_root$fastcgi_script_name;
    }
}
Do the same for example2.com also.
sudo nano /etc/nginx/sites-available/example2.com
When you’re done, run the commands below to enable the server blocks
cd /etc/nginx/sites-enabled
ln -s /etc/nginx/sites-available/example1.com
ln -s /etc/nginx/sites-available/example2.com
Step 7: Create Document Root Folder for Each Site
Root folder is where each website content should be stored. We already define out root folder location in each website server block file but we didn’t create the actual folder yet. Let’s create them now
sudo mkdir -p /var/www/html/example1.com
sudo mkdir -p /var/www/html/example2.com
Step 8: Download WordPress content and copy it to each of the root location
Now download WordPress in Temp folder and extract into the root directory for each site.
cd /tmp/ && wget https://wordpress.org/latest.tar.gz
Extract the downloaded file.
tar -xzvf latest.tar.gz
And copy to each root folder for each site.
sudo cp -R wordpress/* /var/www/html/example1.com
sudo cp -R wordpress/* /var/www/html/example2.com
Step 9: Configure WordPress Database Settings
Create WordPress wp-config.php files for each website.
sudo cp /var/www/html/example1.com/wp-config-sample.php /var/www/html/example1.com/wp-config.php
sudo cp /var/www/html/example2.com/wp-config-sample.php /var/www/html/example2.com/wp-config.php
Run the commands below to open each of the config files and enter the database connection information like Database Name, Database Username, Database Hostname, etc.. then save the file.
sudo nano /var/www/html/example1.com/wp-config.php
sudo nano /var/www/html/example2.com/wp-config.php
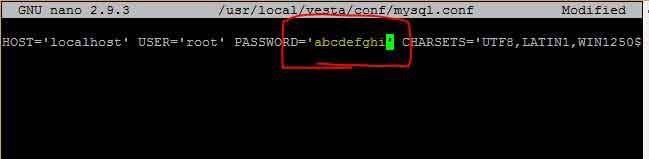
When each file opens type the database name and password for each site you created above. and save the file.
example1.com wp-config.php file will look like below
// ** MySQL settings - You can get this info from your web host ** //
/** The name of the database for WordPress */
define('DB_NAME', 'example1db');
/** MySQL database username */
define('DB_USER', 'example1user');
/** MySQL database password */
define('DB_PASSWORD', 'type_password_here');
/** MySQL hostname */
define('DB_HOST', 'localhost');
/* Authentication Unique Keys and Salts. */
/* https://api.wordpress.org/secret-key/1.1/salt/ */
define( 'AUTH_KEY',         'put your unique phrase here' );
define( 'SECURE_AUTH_KEY',  'put your unique phrase here' );
define( 'LOGGED_IN_KEY',    'put your unique phrase here' );
define( 'NONCE_KEY',        'put your unique phrase here' );
define( 'AUTH_SALT',        'put your unique phrase here' );
define( 'SECURE_AUTH_SALT', 'put your unique phrase here' );
define( 'LOGGED_IN_SALT',   'put your unique phrase here' );
define( 'NONCE_SALT',       'put your unique phrase here' );
Do the above for each of the sites you create, making sure the database connection info is correct for each site.
When you’re done, run the commands below to configure the directories permissions for all the sites
sudo chown -R www-data:www-data /var/www/html
sudo chmod -R 755 /var/www/html
Finally, test and restart Nginx web server
sudo nginx -t
sudo systemctl restart nginx
After restarting Nginx with no errors, you should be able to access your sites the domain names.. and see WordPress default setup page.
ex… http://example1.com
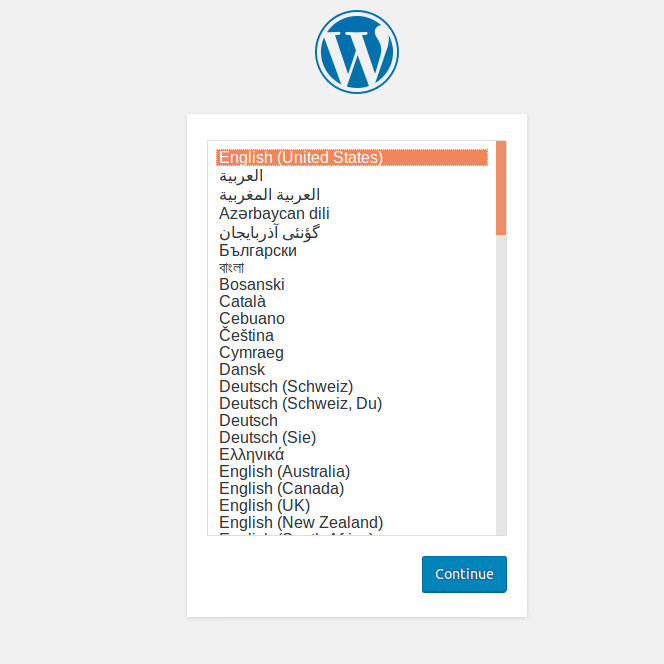
Follow WordPress installation wizard until setup is complete for each site.. That’s it!
This is how to set up multiple WordPress websites on Ubuntu 18.04 Server With Nginx, MySQL And PHP 7.2 Support
Enjoy!